There’s nothing quite like a summer evening in your backyard tiki kitchen, where you can enjoy tropical vibes and cold tiki drinks without ever needing to leave home. But the magic doesn’t just happen on its own. A tiki kitchen can be the ultimate hub for entertaining if it’s set up thoughtfully. With smart planning, you can create a space where food prep, cooking and socializing flow seamlessly, so you spend less time scrambling and more time enjoying the party.
Whether your tiki structure is primarily a shaded seating area or a fully equipped outdoor kitchen, the key is balancing functionality and fun.
Step 1: Define the Zones
Think of your tiki kitchen in terms of “zones,” just like an indoor kitchen:
- Prep Zone: A counter or work surface where you can chop, mix and assemble food.
- Cooking Zone: A grill, smoker or even a pizza oven, where the action happens.
- Serving & Bar Zone: A bar top or side counter where guests can gather, grab drinks or plate up food.
- Lounge Zone: Seating, stools or nearby patio chairs where people can relax while staying connected to the kitchen area.
Even if your tiki bar has limited counter space, you can still create flow. For example, use rolling prep carts or fold-down side tables to expand your work zone, leaving the smaller bar top free for serving or socializing.
Step 2: Prioritize the Cooking Setup
Many tiki kitchens start as seating areas, but adding a cooking station transforms them into true outdoor entertaining hubs. The most common options include:
- Grill: Still the king of outdoor cooking. Choose a propane or charcoal grill depending on your style.
- Smoker: Great for slow-cooked meals that can be prepared before guests arrive.
- Flat-Top Griddle: Perfect for tacos, stir-fries and breakfast gatherings.
If you’re working with a compact tiki kitchen, consider a built-in grill with side burners. This gives you the ability to grill and sauté without needing multiple appliances cluttering the space. Just don’t tuck a grill too close to walls, thatch or bamboo details.
Step 3: Expand Your Counter Space
One of the biggest challenges in a tiki bar layout is limited surface area. A narrow bar top looks great, but it won’t hold up under serious hosting unless you add more prep and serving space.
Options include:
- Side Counters: Install a small counter extension along one wall for food prep.
- Portable Carts: A weather-resistant prep cart can double as extra storage.
- Fold-Down Surfaces: Hinged extensions that drop down when not in use save space.
Think vertically as well: hanging shelves or hooks for utensils, spices or glasses can free up valuable counter space while keeping essentials within easy reach.
Step 4: Create a Flow for Guests
You don’t want guests hovering where you’re trying to prep or cook.
Arrange the tiki kitchen so there’s a natural flow:
- Bar Side for Guests: Keep seating and drink stations on one side of the bar.
- Work Side for You: Reserve the opposite side for prep, cooking, and storage.
- Easy Access to Drinks: A dedicated cooler or mini fridge near the serving zone lets guests help themselves without crowding your prep area.
This separation ensures you can host without feeling crowded while still staying part of the conversation.
Step 5: Add Storage for Stress-Free Hosting
No one wants to trek inside for every forgotten utensil. Incorporate storage into your tiki kitchen so everything is at hand:
- Cabinets or Drawers: For grilling tools, napkins and serving platters.
- Hooks: For spatulas, tongs and cutting boards.
- Bins: For trash and recycling. Easy to forget, but essential for outdoor entertaining.
Good storage makes cleanup easier, too, helping your tiki kitchen stay organized between gatherings.
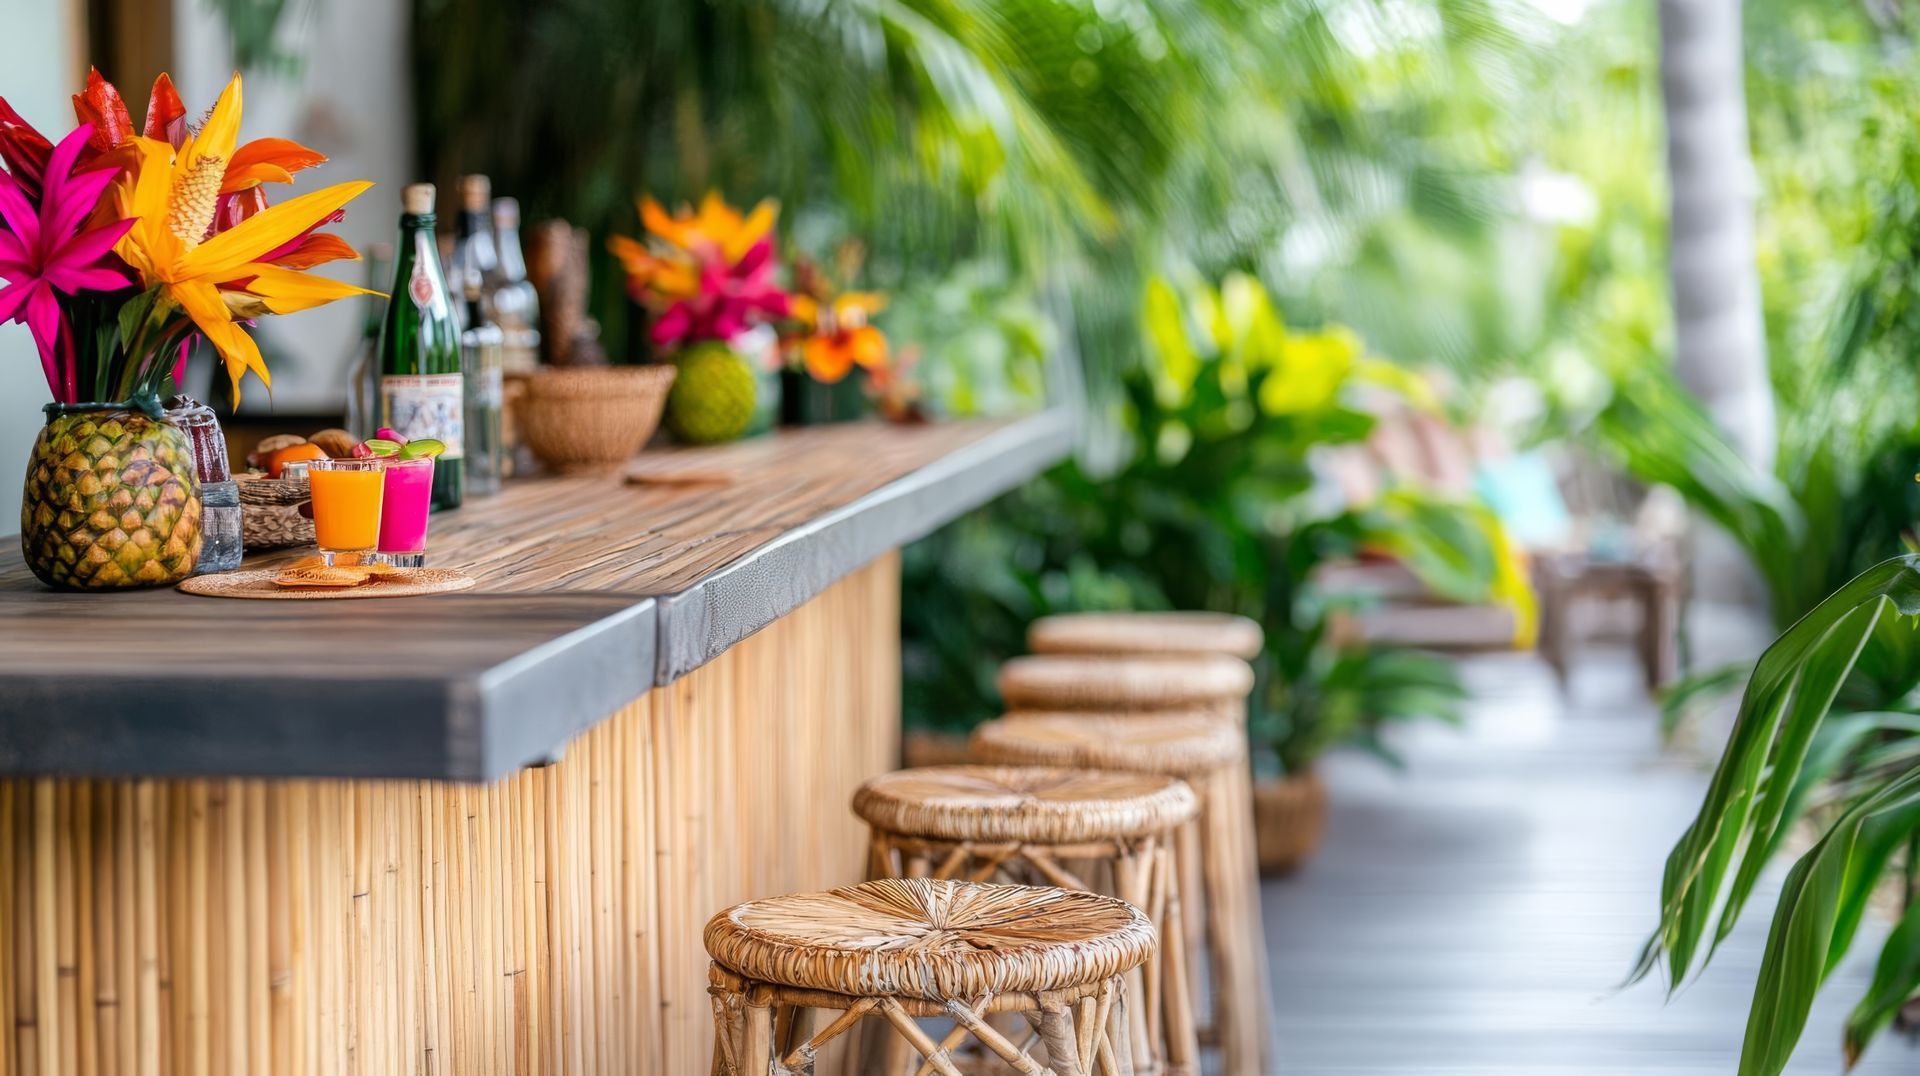
Step 6: Style It for the Occasion
The beauty of a tiki kitchen is its atmosphere; it’s not just functional, it’s fun. Add décor and finishing touches to enhance the tropical theme:
- Lighting: String lights, tiki torches or LED lanterns for after-dark ambiance.
- Textiles: Bright cushions, bamboo mats or tropical-patterned tablecloths.
- Bar Décor: A collection of colorful glassware or a signature tiki mug set.
- Plants: Potted palms, hibiscus or even faux tropical greenery to frame the space.
Remember that in Florida, weather-resistant décor is your best friend.
Step 7: Prep Ahead for Effortless Hosting
Even the best layout won’t help if you still have an hour of prepping to do when guests arrive. To host seamlessly:
- Do the chopping early: Prep veggies and marinades before the party.
- Set up a self-serve drink station: Encourage guests to mix their own cocktails or grab beers from a cooler.
- Choose menu items suited for outdoor cooking: Skewers, burgers and seafood are fast and crowd-pleasing.
When the space is organized and food is mostly prepped ahead, you’ll spend more time mingling and less time scrambling.
Upgrade Your Outdoor Living Area in the Emerald Coast
If you’re dreaming of a backyard tiki kitchen or outdoor entertaining space, start with a structure that’s built to last. At Bestway Portable Buildings Inc., we offer durable, customizable tiki outdoor kitchens that offer exceptional functionality and endless possibilities.
Call us at (850) 747-8974 to explore your options and bring authentic tiki culture to your backyard.